
Learn the steps to install a new kitchen sink—remove the old sink, apply putty, mount the new basin, tighten clips, and reconnect all plumbing lines.
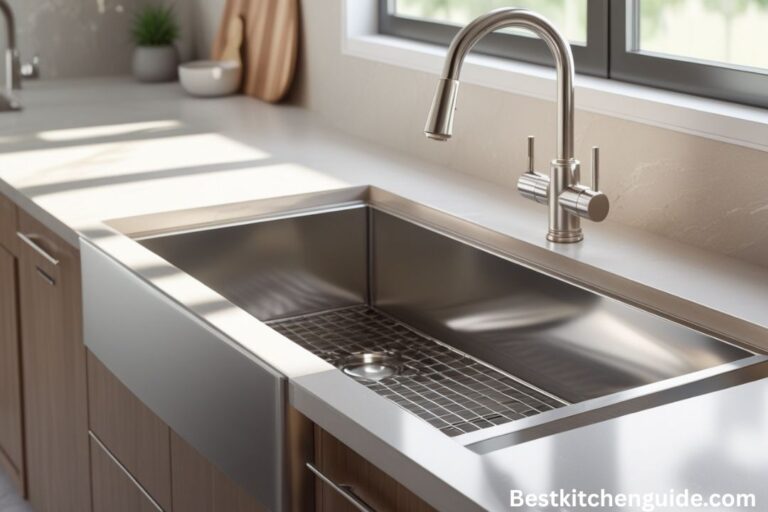
Installing a new kitchen sink plays a significant role in transforming the look and functionality of the kitchen. Whether the goal is to replace an old, worn-out sink or to upgrade to a more modern and efficient design, it is essential to understand the correct process to ensure long-term durability, proper sealing, and smooth water flow. In some cases, this knowledge also overlaps with how to install a wall-mount sink, hang a wall-mounted sink, mount a sink to a wall, and attach a sink to the wall when working with different sink styles.
This detailed guide covers every step of the process and highlights essential tips for achieving a secure, professional result.
A new kitchen sink is a functional upgrade and a focal point in the kitchen. A poorly installed sink can lead to water damage, leaks, mold growth, and frequent plumbing issues. Understanding how to install a new kitchen sink — and, in specific cases, how to install a wall sink — ensures that these problems are avoided and that the sink performs well for many years.
Gathering the necessary tools and materials before starting the installation is important to making the process efficient and effective. Having the right equipment helps avoid unnecessary delays and ensures each step is completed correctly.
Common tools required:
Essential materials:
Additional reinforcement materials, such as wall anchors, bolts, or backer boards, may be necessary to provide adequate support when learning how to install a wall-mount sink.
The installation process starts by creating a safe and clean workspace. This is vital to achieving a smooth and efficient installation.
For wall-mounted sinks:
If you are working with a wall sink, this is the stage where you would locate the wall studs and ensure the mounting surface is strong enough to support the sink. This step is critical in installing a wall-mounted sink and attaching the sink to the wall securely.
Before placing the new sink:
For a wall-mounted sink, position the sink on the wall temporarily to mark the location for mounting brackets, hanger bolts, or support plates. This step helps ensure accuracy when following how-to-mount sink-to-wall procedures.
It is usually easier to install the faucet and any additional accessories (such as soap dispensers or sprayers) while the sink is still outside the countertop opening. This gives better access to the mounting areas and connections.
For wall-mounted sinks, faucet connections may be made after the sink is mounted, especially if the faucet is mounted separately on the wall.
Once everything is prepared:
Use a level to ensure the sink is perfectly horizontal. This is particularly important when hanging a wall-mounted sink or installing a wall sink, as even minor tilts can lead to drainage or support problems.
For countertop sinks:
For wall-mounted sinks:
Once the sink is securely mounted:
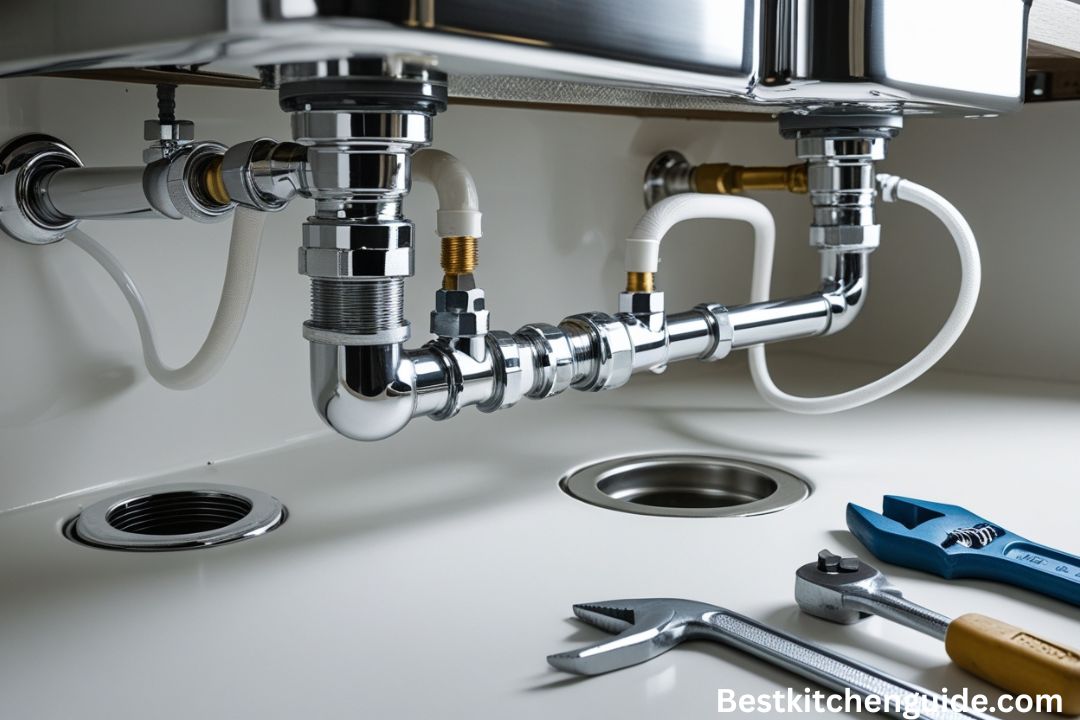
For wall sinks, confirm that pipes are supported and attached without strain on the connections.
The final step is to:
Installing a wall-mounted sink requires extra care because the wall structure supports the sink’s full weight. Keep in mind:
Following proper instructions for mounting and attaching a sink to the wall prevents long-term structural and plumbing issues.
To ensure your new kitchen sink remains functional and problem-free:
Installing a new kitchen sink is a valuable upgrade that contributes to the kitchen’s appearance and efficiency. Whether the sink is set on a countertop or mounted on the wall, following the correct steps ensures a secure fit, proper sealing, and reliable water flow. Paying attention to details like how to install a wall sink or how to hang a wall-mounted sink helps prevent common problems and extends the life of the installation.

Whether you’re selling or staying, everyone can get something out of a kitchen update. Learn why we consider this renovation the Most Valuable Project of 2025 and how to stay on budget.
Hi, I’m Kyler Halvorson—a home kitchen advisor dedicated to helping beginners create simple, efficient kitchens. I share practical tips and tools to help you cook with confidence from day one.
Copyright 2025 Best Kitchen Guide, all rights reserved .
Best Kitchen Guide offers expert tips and product reviews to simplify your cooking experience. From cookware to appliances, we help you build a smart, efficient kitchen.
Best Kitchen Guide offers expert tips and product reviews to simplify your cooking experience. From cookware to appliances, we help you build a smart, efficient kitchen.
Copyright 2025 Best Kitchen Guide, all rights reserved .